During past couple of weeks I was greatly involved in process of creating MSIs for our new products. The ultimate goal was (still is) to improve overall installation experience of customers. During this time I mainly tinkered with one the project type in VS which I had never ever used before, that was “Visual Studio Installer” projects. Believe it or not VS has really neat ability to create fairly complex installation packages (MSIs). But for this post, I will be creating very simple MSI which just installs one text file into installation directory (I am saving more complex setups for later posts ![]() )…
)…
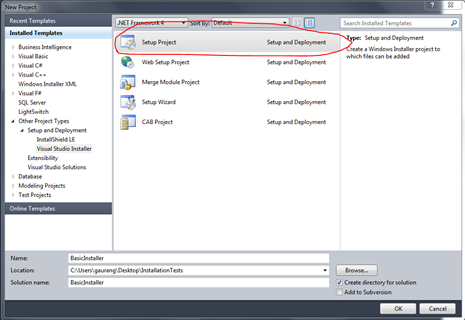
Ok, so you begin with firing up instance of VS2010. Into “Installed Templates” goto “Other Project Types” –> “Visual Studio Installer” and select “Setup Project”. At first look project solution looks really strange, because it has quite unusual looking directory structure, and weird option navigation options. It will take a bit to get used to with layout, but it’s not that complex too.
Since we just wanted to have one file in installation directory, right click on project and select “View” –> “File System”. This option lets you select what files you want to have in application installation directory, start menu shortcut etc. Now, we want to add file at installation directory so all you need to do is to right click on “Application Folder” select Add –> File. And add a file from any location. If you look at solution explorer then you will see that file is added to project, but if you open up project in windows explorer you will not see that file in project … in fact you will not see any file other than vdproj, because it doesn’t actually copy files it just add reference to those files.
 |
 |
 |
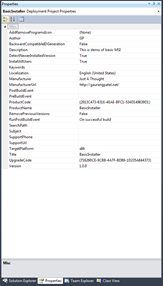
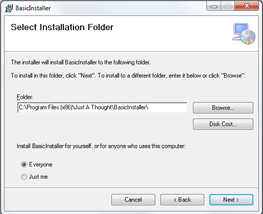
Once that is done, only thing that remains is making some cosmetic changes … like adding company name, application logo and other details. Once that is done just build project and you should see new MSI (with supported EXE) in debug or release folder (based on your selection). To test this MSI, just install it in machine like you install any other MSI.
 |
 |
 |
 |
 |
That’s it. Once installation completes you should see a file in installation directory !! As you can see it is dead easy to create your own MSI. And of course it is really neat way to deliver product to clients. In later posts I will write more about doing fancy things during and after installation process by using “custom actions”.
That’s it for now.
It’s Just A Thought … ![]()

