Since beginning of time, I have always used Windows AD Server for my homelab. And it has worked well for my purpose, which is nothing so complex other than some usual testing. What I really did hate about it is Windows OS by it’s nature is very resource intensive and sometimes unstable :). Being very noob at networking it never occurred to me that there could be Linux alternative. That all changed when I found Zentyal. Zentyal is not just Windows AD compatible AD Server. But it also mail server, gateway, DNS server etc. What really good thing about this great software is, it has 2 flavors…. Enterprise Edition and Community Edition. Community Edition, as you can guess is free and supported by community, so this might not be good if you want to use it in production environment where you can’t wait for someone to help… but on the other hand it is perfect for homelab where whole point of having ADDS is to learn :)… and that is what I am installing in my vm.
And following is step by step instructions about installation of Zentyal…
First step is to get ISO from their site. Since I am using Proxmox, I directly downloaded it in storage (very very handy feature).
|
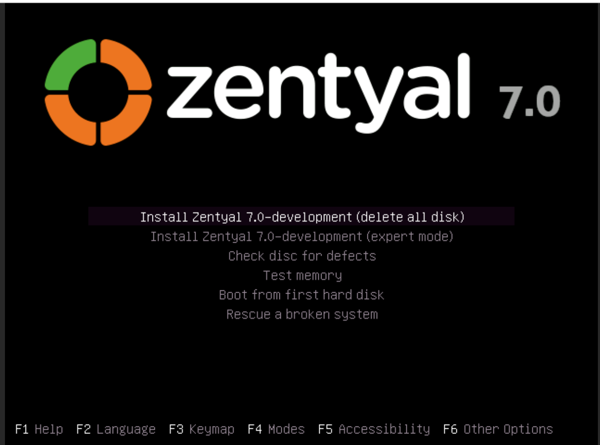
Step 1: Boot up (I chose delete all disk option) |
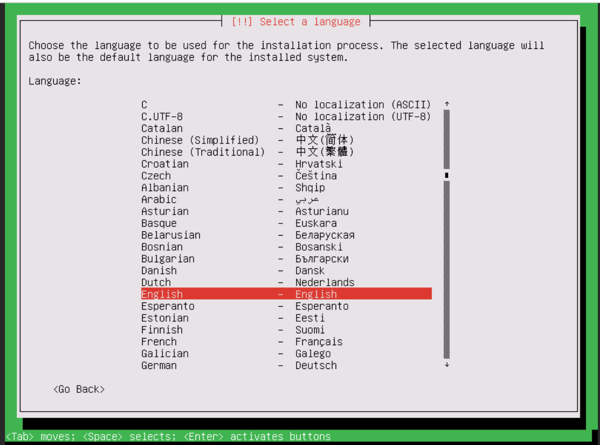
Step 2: Language Select |
|
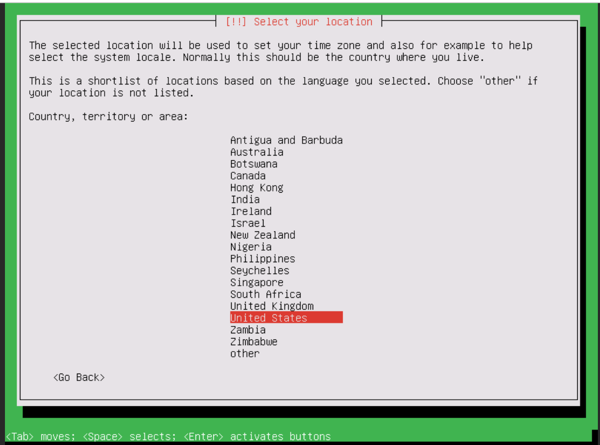
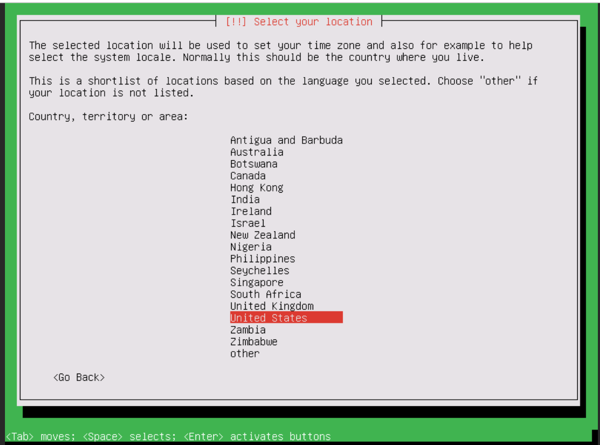
Step 3: Location Select |
Step 4,5: Keyboard selection |
|
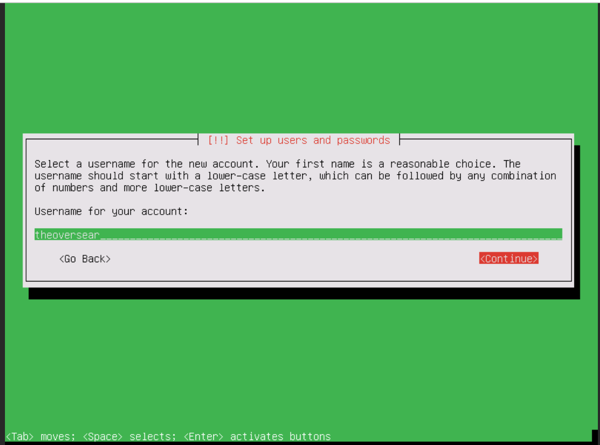
Step 6: Create Administrative user account. |
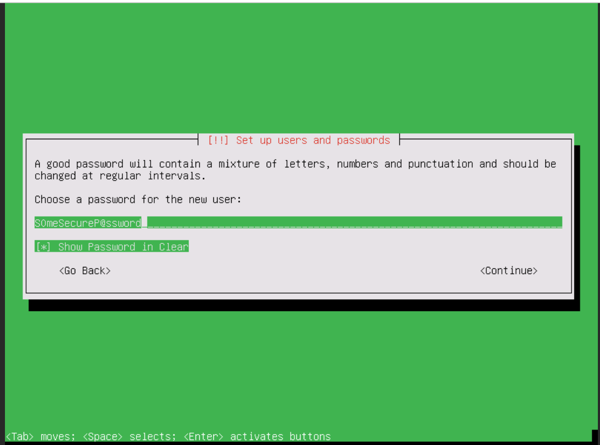
Step 7: Add password for user created in previous step. This will repeat twice. |
|
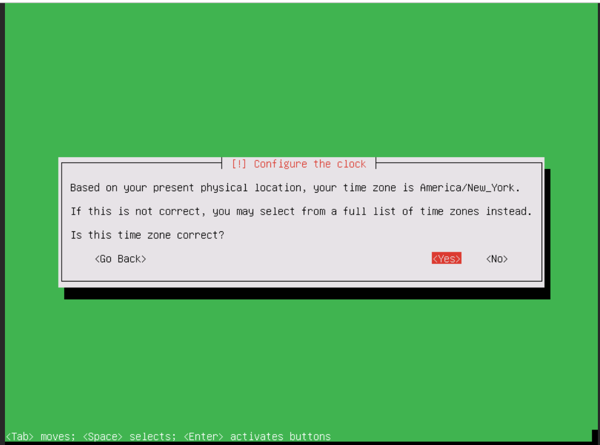
Step 8: Setup TimeZone |
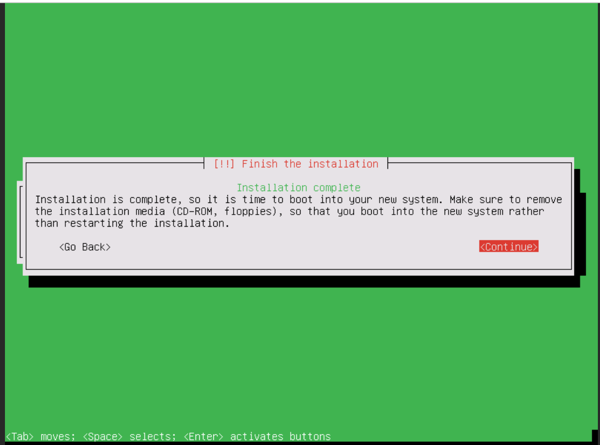
Step 9: Finished installation. Time to reboot |
That’s it for now… I will make another post about steps to configure Zentyal.
