If you have been working with Linux for long enough time, you must have came across this question… “I have setup my Linux exactly the way I need it, now how do I replicate same setup in someone else’s computer?” or even better, “It would be great if somehow I can make LIVE CD out of my current setup”. This is more or less like what you would do using Sysprep but on steroids ![]() for Linux. I ran into this situation recently at work where I have to make bootable ISO (read live CD) out of existing Linux machine.
for Linux. I ran into this situation recently at work where I have to make bootable ISO (read live CD) out of existing Linux machine.
After initial struggling with my web searching skills (or may be it was my refusal to use Google for search… I am using DuckDuckGo), I found that there are in fact more than few tools available that do just that! I decided to give try a tool that made sense to me (which can be totally different for anyone else) is called Pinguy Builder. This tool is only for *buntu family. It is simple to use tool with decent GUI and ability to use shell interface…. win win for me. Following is what I did to create copy of my Linux installation in Live CD form so I can distribute it for my purpose. Depending on your *buntu version you need to download required version. Download page has more details about what version is needed for what version of OS, so I am not repeating that here.
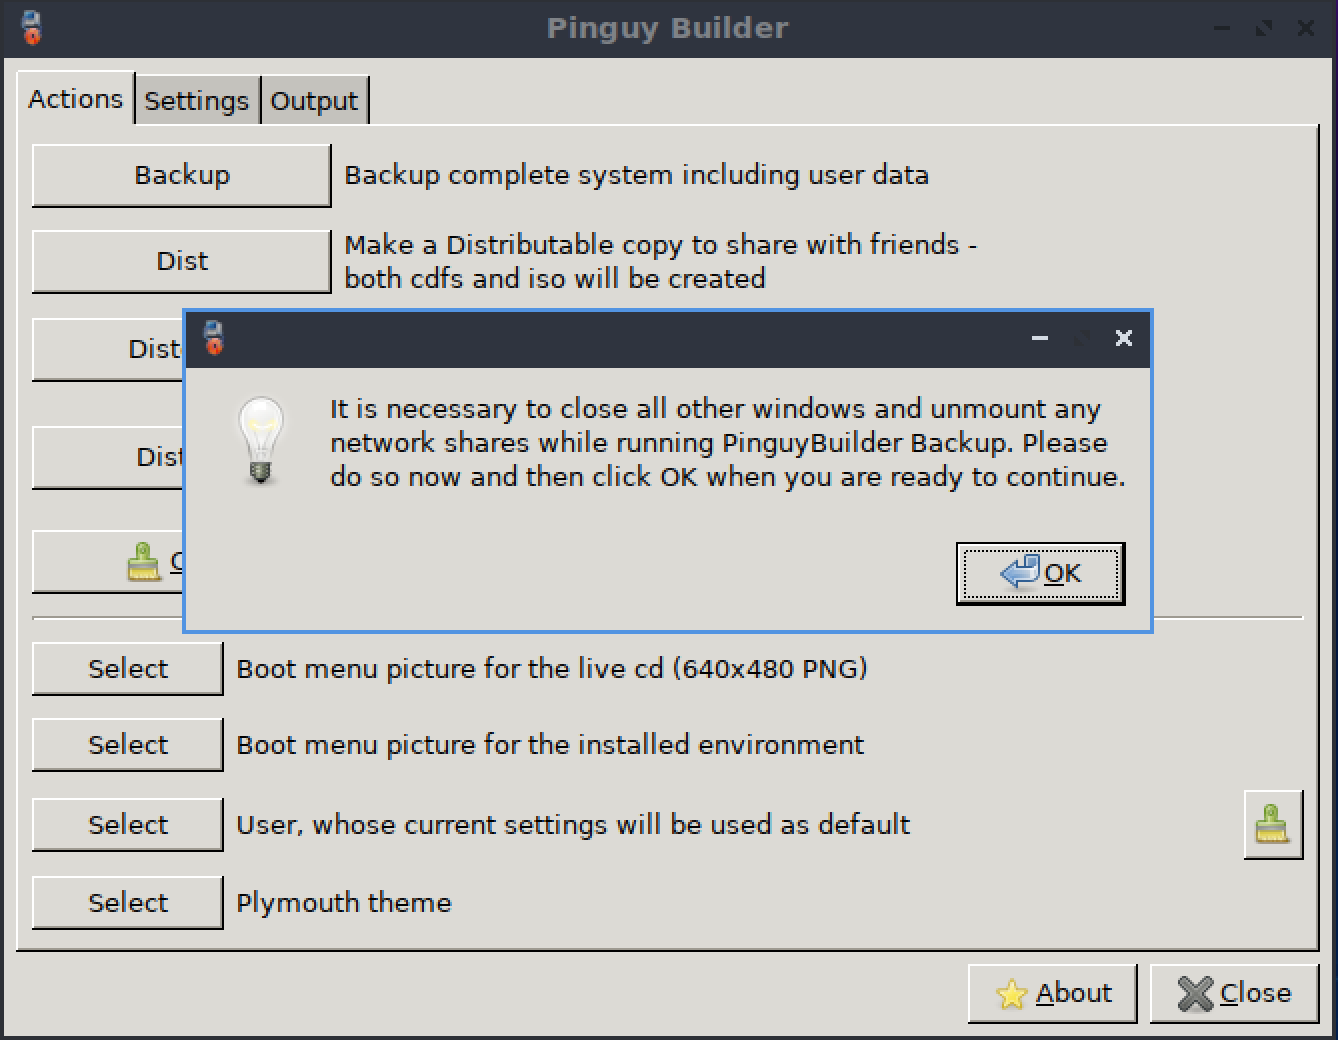
Install DEB package as you would normally install any DEB package. Once it is installed you can start program by looking up for “Pinguy Builder” shortcut (or via shell). For first run you should see screen like this…
Interface is intuitive enough to understand what options are. But basically it has “Backup” option to create simple backup, “Dist” option to create distributable ISO (it makes live ISO image). “Distcdfs” option to create distributable copy filesystem with option to add more files (honestly not sure about purpose of this). And “Distiso” to make ISO out of files created using Distcdfs option. But basically, if you want to make an ISO, you would just use DIST option.
It also has option to create live cd background and also option to select user whose settings will be used as default.
Next is “Settings” tab, which included some extra settings about this application.
Next is, how to make functional ISO… that is actually pretty simple process. Just click on DIST option in main menu. And application will ask for confirmation.
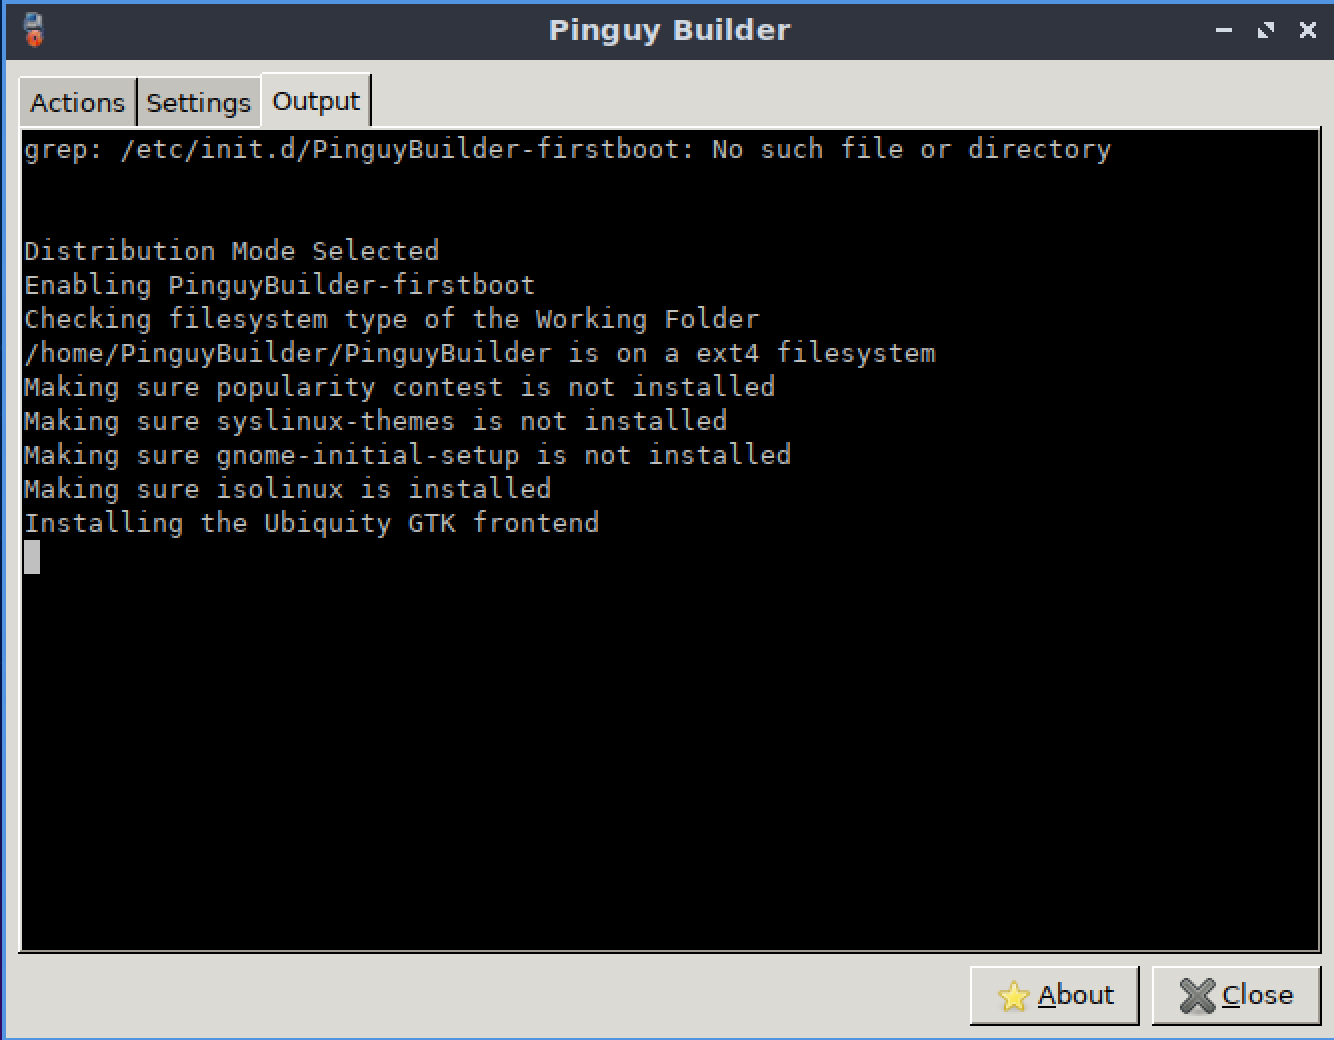
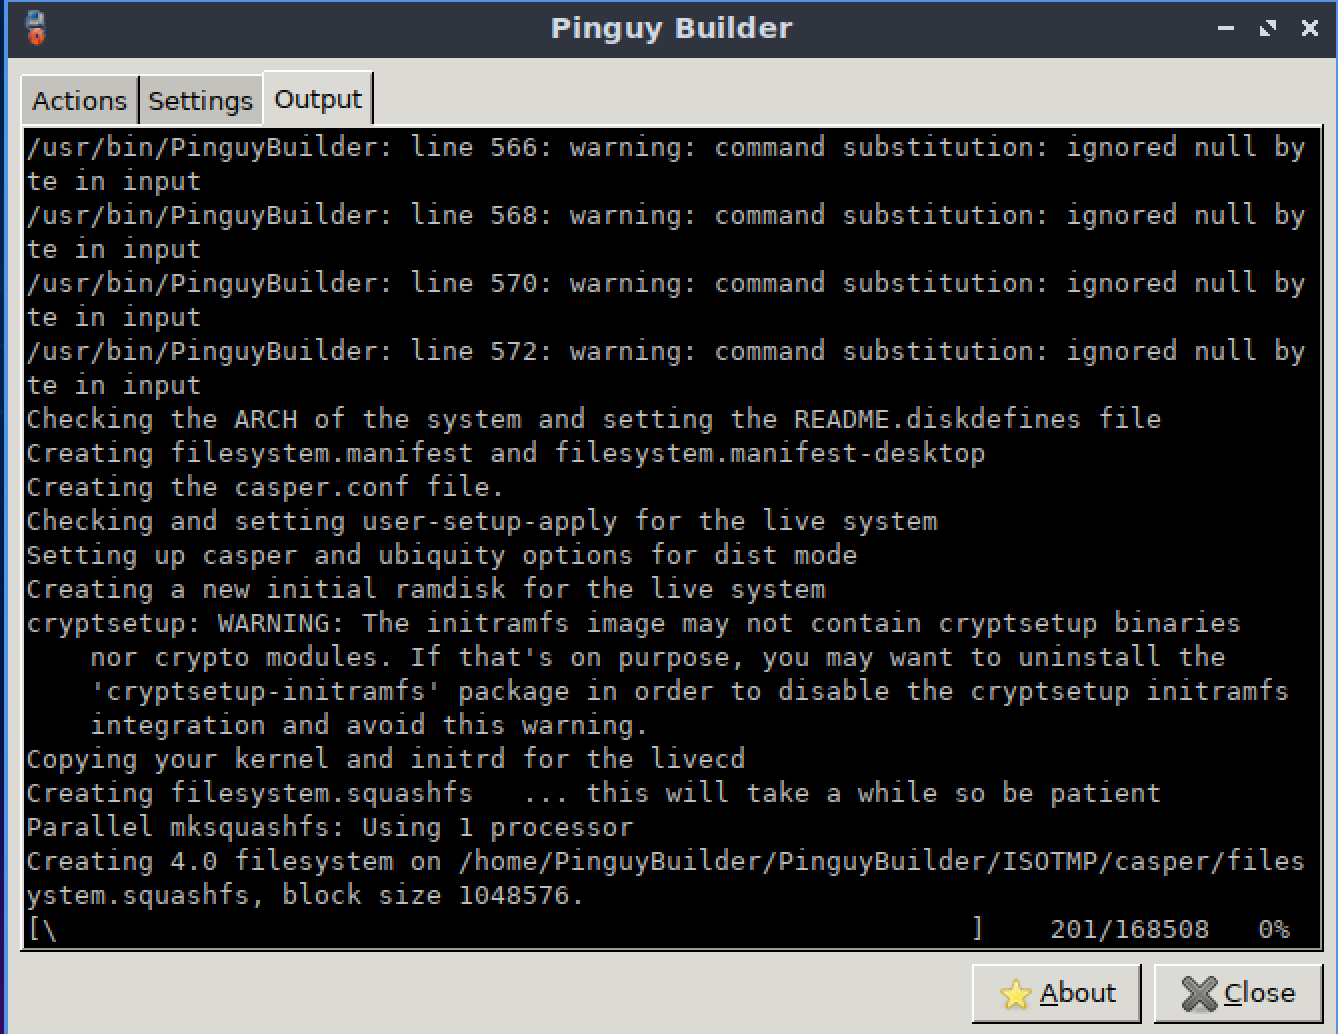
Once build process starts, it is just waiting game. Basically tool gathers all required files and places them in certain directories and in the end makes an ISO out of it … now this is very simplified explanation but that is what it does.
And once it successfully builds an ISO, you will see confirmation of completion of process.
And that is it, if you go to build output folder you should have brand new ISO which is Live CD version of your current system setup ready for distribution.
That’s it for now…
It’s Just a Thought … ![]()


