I have more than few laptops laying around that are too old to run anything but Linux… But I don’t want to part from them. Because I think they are still poweful enough to do things but also because there is no real good way to recycle them. And I always wished to find better use of them then using as level-2 hypervisor server. And to me that is just waste of precious resource as you run hypervisor on top of OS that is already using 1/2 of available system resources. And unfortunately, most of freely avaiable level-1 hypervisors like Microsoft Hyper-V or Vmware ESXi are not installable on consumer grade hardware (i.e. Laptops) because they have very specific requirements for hardware (specifically NICs are always causing issue, unless there is open source driver available for it). So my forever common setup was use VMBox in Linux…. which I hated by heart because it is very inconvinient.
Enter the Proxmox…. Untill very recently I never thought that world has to offer more than few big names as hypervisor. Actually I found it accidently at some random corner of internet. The best thing about it is, it is based on Debian and so you can pretty much install it on any machine where you can install Debian (meaning all of my laptops can run it !!). With that being said I will just dive in setup process.
The way it works is, you can download Proxmox from their website. It is open source so it’s code can be reviewed and audited by anyone. Now I am not a licensing expert or lawyer so don’t quote me but as far as I can understand it is free to use even in enterprise environment. And if you need help with software they do have decent subscription support.
Once you download ISO, you can burn it as CD (seriously who is even using them now a days?) or to USB. Once that is done plug it to your laptop and boot via USB or CD\DVD.
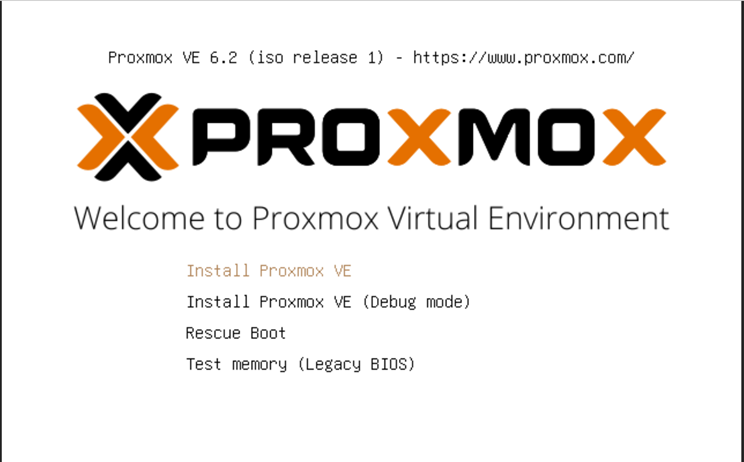
When it boots it will come up this installation screen.
Obvious selection is first selection, “Install Proxmox VE”. That will begin installation process.
|
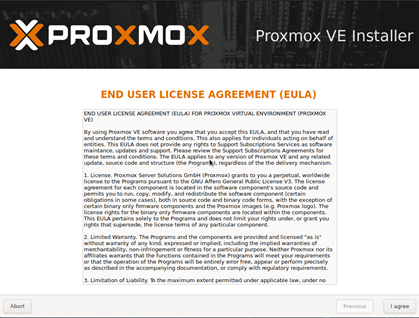
Accept EULA |
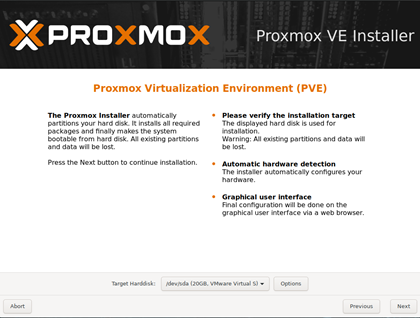
Choose Destination disk (if you have crappy laptop like mine you will have only one drive available |
|
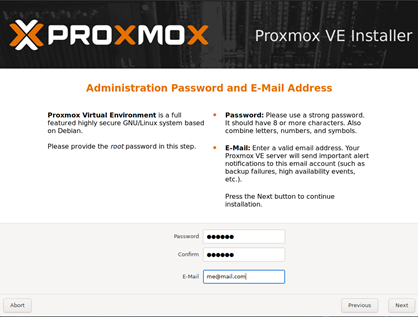
Add Admin password. This sets password for account ROOT. You will use that account to do almost everything and anything. |
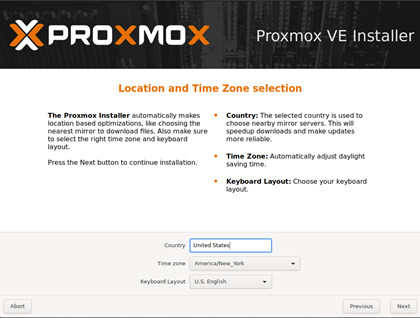
Setup obligatory location so Proxmox can keep time upto date based on location. |
|
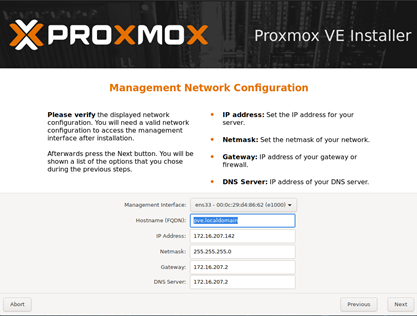
This will be IP of Proxmox server. |
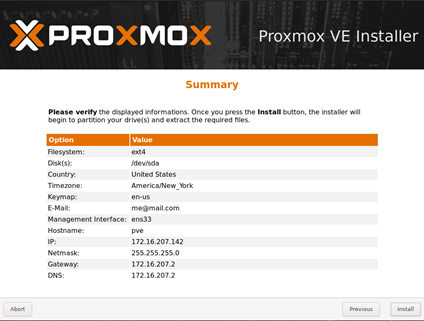
Final confirmation before actual setup begins. Once you are confident, click on install. |
|
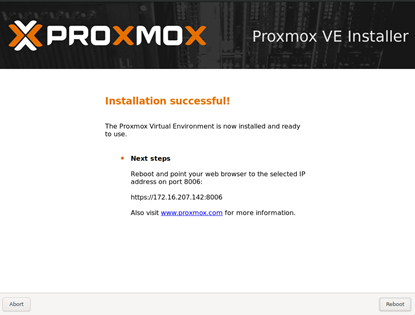
Success !! |
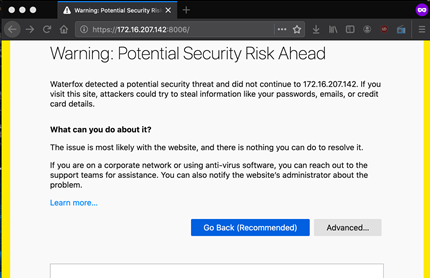
Browsers like Firefox will throw exception as Proxmox is using self signed certificate. But you can ignore this and continue to main page. |
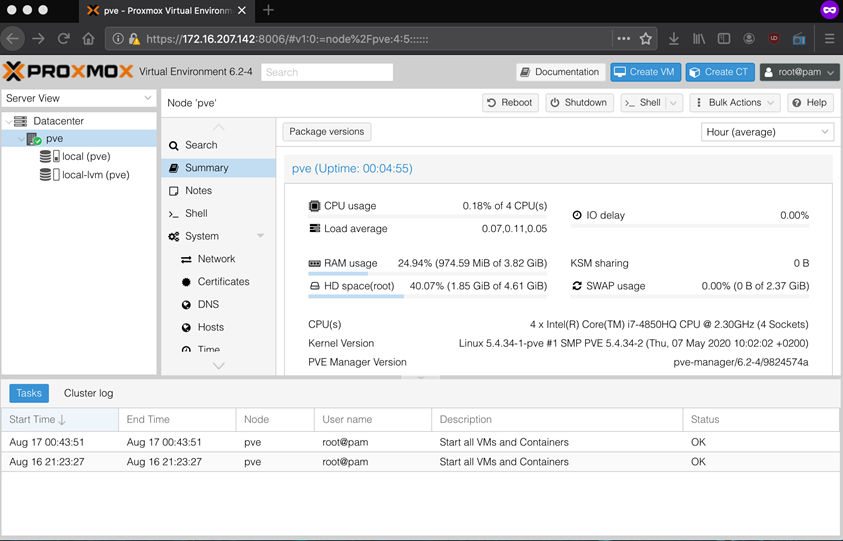
If everything goes well, when you point your browser to above URL with 8006 port, you will end up at login page of Proxmox. Once you log in to that with user ROOT and password that you previously created during installation, you will get Proxmox administration page.
With that you have your own Level2 hypervisor (it is still using Debian as Host). With that you can do all sort of things as you would normally do with any Hypervisor. I would say it even takes your game to next level with support of Linux containers (LXCs).
That’s it for now… Happy exploring… ![]()
