After my not so great experience with prosumer grade router UDM, I got more curious and tried to look for alternative of that. And I found that there are more than few options available… some of which are open source and free. Among them pfSense was seem to be popular and offered similar feature with less price :). And only thing that was required was compatible hardware (I think only requirement is compatible dual NICs). In my case, luckily I had spare device that I was able to use… so it was win win decision for me. This post is about steps to install pfSense in hardware of your choice.
First step is to get ISO from pfSense website. And then make bootable USB using tool of your choice (in my case, I used Rufus). Once that is done, boot your device using that USB. Most of installation is straight forward if you have experience of installing *NIX systems.
For this guide, I am using VM (which is actually used as by some people out there… if you have good enough server that you use for more than one items) but process is exactly same if you are to install it in real hardware. Once you boot, EULA is first thing you will see (and accept).
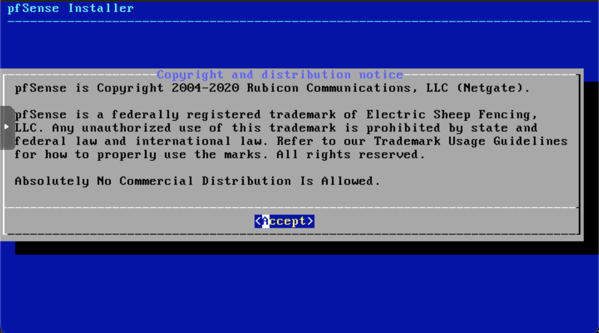
Next step is to select “Install” as next option because that is what we want.

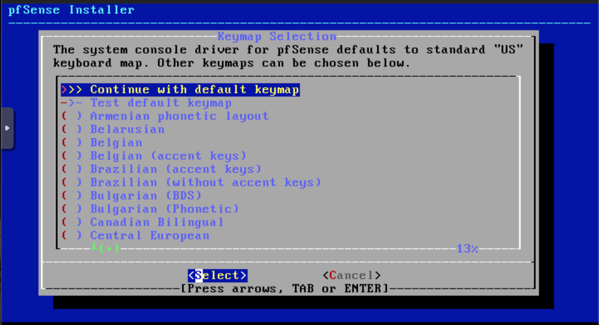
Next screen is Keymap, you don’t have to change anything unless you are using keyboard that is not automagically picked up by installer.
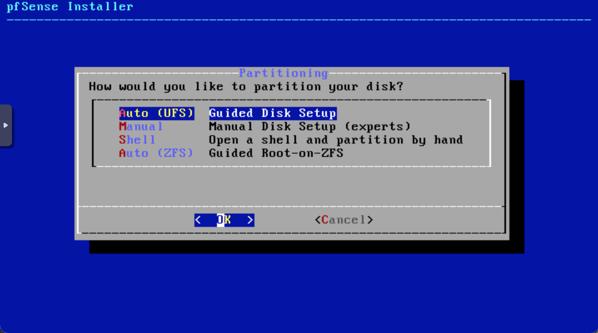
Once keyboard layout is set, it will ask you about partition creation. If you don’t know what to select… then select AUTO (UFS) as this option will automatically select partition sizes for data and swap partitions.
That is all install needs from user. After specifying all options, installation will start…
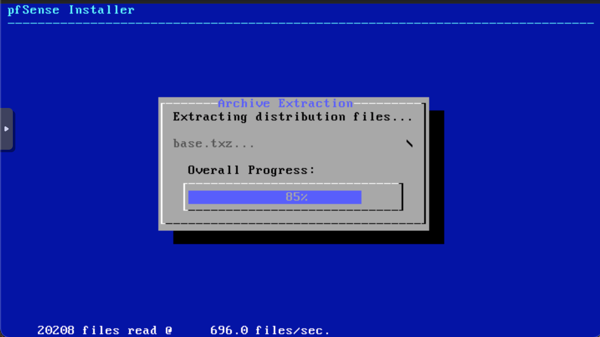
Once installation is done, it will ask if you want to make any modification manually… I honestly don’t know what can be changed here because I didn’t use that option.

Finally… it will ask for “reboot”.
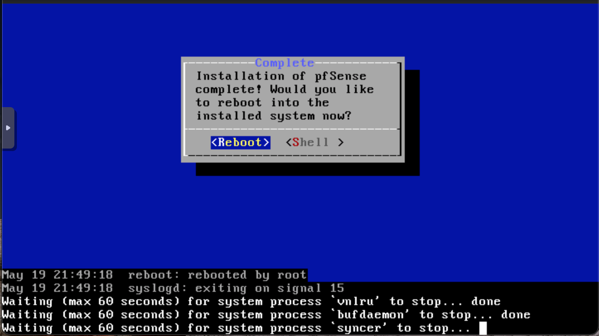
Once reboot is done, pfSense interface will come up something like this…
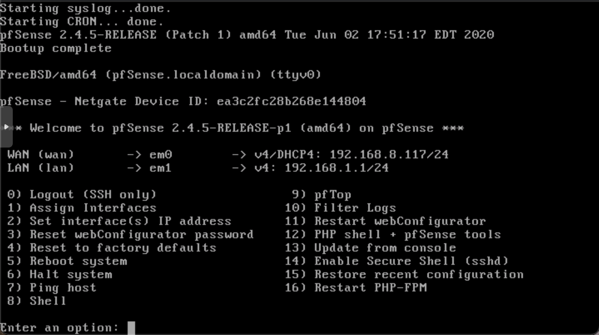
If it were a real connection from ISP, you will have WAN interface IP that will be your public IP.
And for your LAN IP, you can have whatever IP you want to setup for your internal network. Once you setup that LAN IP, DHCP server of pfSense will handout IP based on that range. To keep this post short, I will make another post at some time to show how to configure/re-configure LAN interface.
That’s it for now…